Editorial field guide3 min readUpdated 3 October 2026
Contents and media references
Try a simple, repeatable brief before building a complex interactive world.
Plan, record and edit a POV production
BEFORE / INTENTION
Write a one-line brief.
“The viewer will learn how this object is made, from the first component to the final test.” Specify the audience, the action and the change. Then make a short beat sheet: arrival, setup, attempt, complication, result.
Scout the route for lighting changes and distractions. Rehearse the hardest movement, and leave time for a second take.
DURING / COVERAGE
Record with the edit in mind.
Capture a stable opening, the complete action and a few seconds after the result. If an instruction matters, say it clearly or record it separately. Photograph details or record supporting shots when the wearable view cannot explain them.
Review a sample before completing the session. A successful take must work in the file, as well as in the moment.
AFTER / MEANING
Shape what the viewer feels.
Make the first seconds establish a question. Cut repeated actions, retain useful pauses and let the outcome land. Add captions that clarify the action without covering the hands or an essential object.
For an AR concept, distinguish recorded interaction from composited graphics. Keep a version with clean footage for future edits.
SOURCE MATERIAL / CLOSE READING
The equipment is part of the workflow
The case, battery and export process belong in the production plan alongside the lens and the story.
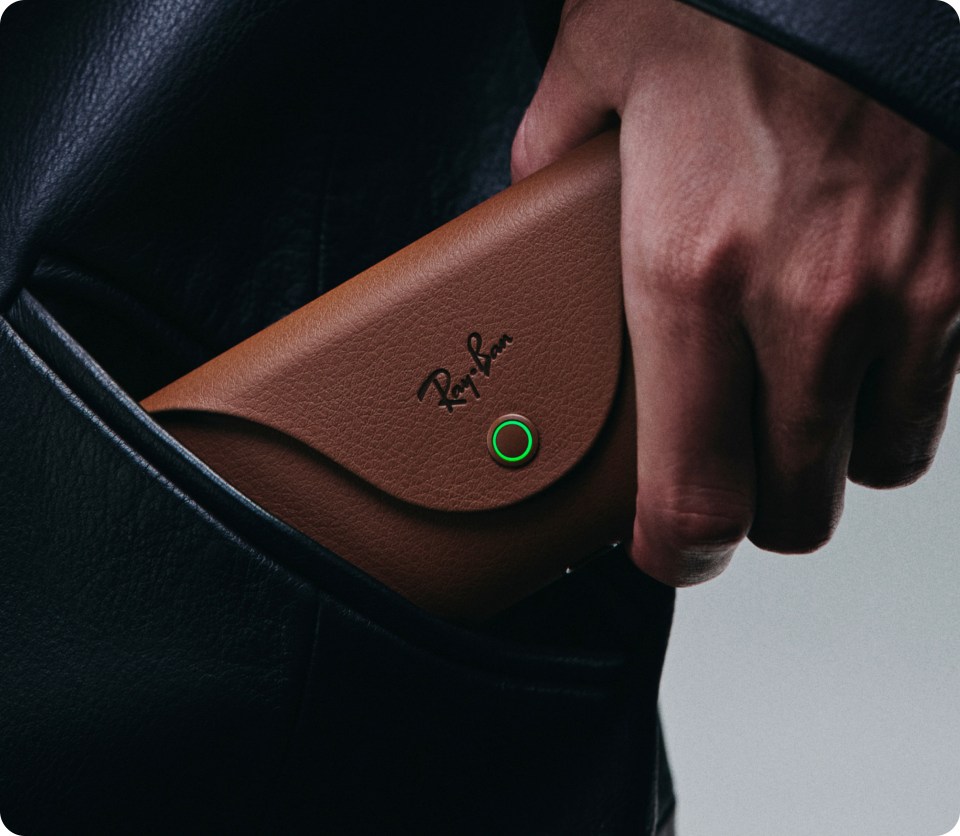
Ray-Ban’s charging case is a useful reminder to schedule charging and check device status between takes. Verify the operating limits of your specific model. Image source: Meta
A POV filming checklist for a small crew
A small production still benefits from assigned responsibilities. Identify who is wearing the camera, who is checking the recording and who can answer participants’ questions. One person may hold several roles, but the roles should remain clear. Prepare a short brief, a location plan, a device test, a record of participant agreements and a delivery list before the session.
Example schedule for a short maker film
Begin with a framing and audio test at the workbench. Review the test together. Record the introduction, then the complete practical action. Pause to inspect any difficult movement. Capture supporting details and room sound. Finish with the result and a reflection. This is a suggested sequence, not a fixed schedule; the task and available recording capacity should determine the timing.
Keep files connected to their purpose
Use filenames that identify the project, session and take. Keep the original capture separate from edited versions. If the AR view is recorded through another application, name that file distinctly and note how it aligns with the physical footage. Store captions, participant notes and graphics where an editor can find them without guessing which version is current.
Deliver for the place the video will be watched
A gallery screen, a website and a vertical social feed can require different framing and pacing. Keep a clean master, then make versions for each destination. Test readable text at the actual display size. A hand gesture that works on a large screen may be too small after a vertical crop. Give the viewer enough time to recognise the action before an end card appears.
Review with someone outside the production
Ask a fresh viewer to describe the objective, the change and the result. If they cannot identify one of those, more effects may not solve the problem. You may need a clearer opening, a supporting shot or a different edit. Review any identifiable people and background details at the same time, especially before a public upload.